

Updating your Vertex Firmware with a Windows PC
Step-by-step firmware update of the Vertex from a Windows PC: run both the FPGA and the MCU updater, then power cycle the unit.
ALL CHAPTERS
The Vertex Firmware Updater is compatible with all Windows from Win XP to Win 10.
Make sure you have installed the right Silabs driver based on your Windows version and USB port as described in previous page.
→ See: USB driver (Windows)You can download the latest Firmware version for your Vertex device from the Download Tab on the Vertex Product page: here. If you are unsure about your Firmware version currently in use, simply use the Total Control APP for Android/iOS info page or the USB GUI for Windows PC to retrieve it.
Once downloaded and extracted, you should have a directory on your computer with the following files

You will have to run both Update FPGA and Update MCU to successfully upgrade your Vertex unit.
You can start by any of them; there is no particular order to respect.
However, you might prefer to start by MCU update as it does not require mandatory power cycle. FPGA update will take about 50s while MCU update is taking less than 5s.
After updating the FPGA firmware, you will be prompted to power cycle your Vertex unit, you won’t see any light or OLED info for about 15s as the unit is reconfiguring itself. Once ready, OLED and light will come back on. This is only valid for any FPGA update.
If any issue after update, please refer to p.13
→ See: Combo RST + INPFPGA Update Instructions
Double-click Vertex FPGA executable (if needed, right-click and select Run as Administrator)
The below window will open.

Click Update Firmware as shown on the above picture.
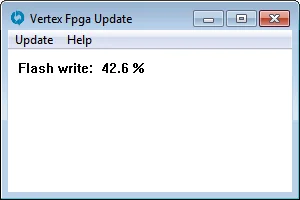
Flashing time is around 50 seconds
Do not disconnect your device while the upgrade process is running.
Once completed, you will hear a windows notification sound and the below window will pop up.
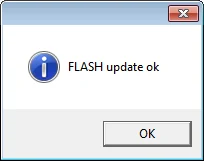
Simply click OK and the main updater will display the below message.

This confirms the FPGA update process is completed; you can process to next step.
After power cycling your Vertex unit, you won’t see any light or OLED for about 15s as the unit is reconfiguring itself. Once ready, OLED and light will come back on. This is only valid for any FPGA update.
MCU Update Instructions
Double-click UpdateMCU executable (if needed, right-click and select Run as Administrator)
The below window will open.
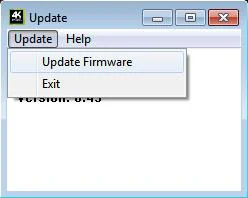
Click Update Firmware as shown on the above picture.
Flashing time is less than 5 seconds.
Once completed, you will hear a windows notification sound and the below window will pop up.
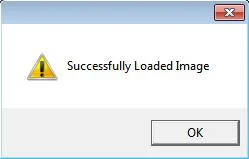
Simply click OK and the main updater will display the below message.
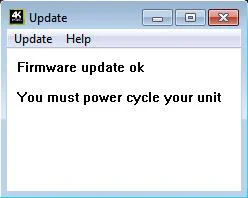
Congratulations, you have successfully updated both the MCU and FPGA and your unit is now ready to operate with the benefits from the latest software additions.
Source: official User Manual 4K Vertex, Rev 1.30. Text and figures © HDfury, reproduced for Vertex owners.